Software Guide, Reviews & Download for Windows OS
SoftGets provides Windows Latest News, how to articles & Free Software download.
SoftGets provides Windows Latest News, how to articles & Free Software download.
SoftGets provides Windows Latest News, how to articles & Free Software download.
Windows XP was released on the 24th of August in 2001. it had been probably one of the most interesting products from Microsoft since Windows 95 was released. It’s been eighteen years since Windows XP was released and it still features a lot of fans following. this article is about Windows XP ISO and the way to Download Windows XP ISO free of charge.
You can directly download Windows XP SP3 ISO files from our website without a hassle. Windows XP is completely free of charge to download from our High-speed server. You just need to click on the Download Button below and the download will start automatically.
License: / Product Key Free Trial
File Size:
589 MB (32-bit)
560 MB (64-bit)
Language: English/Multi
Developer: Microsoft Inc.
Windows XP was released in the year 2001 but its development started way back in the late 1990s when it had been called Neptune. Neptune was an OS that was created on the idea of the famous Windows NT kernel. Neptune was only made in order that it might fulfill the requirements of the common consumers and not for experts in a specific field. alongside the Neptune operating system, there was an updated version of the Windows 2000 operating system within the works that were meant to be utilized by businessmen.
But within the month of January of an equivalent year, both the Neptune and the Windows 2000 updates were dropped, and instead, a new operating system came into existence. it had been initially named Whistler which was a codename for the popular Windows XP operating system which was the primary Windows operating system that wasn’t supported by the Microsoft Disk operating system.
Windows XP came with a boatload of features that weren’t seen within the previous versions of Windows. a number of the main updates were within the fields of the interface, Networking, and other core features of the OS.
In Windows, the applications which are written don’t have direct access to the graphics-related hardware like the GPU (Graphical Processing Unit), instead, Windows operating systems have a GDI, which is an abbreviation for Graphics Device Interface. When Windows XP was made, they replaced the first GDI with a Graphics Device Interface which was to be coded with the C++ language only and it had been called the GDI+ system.
With the introduction of the GDI+ subsystem, the text and other images on the screen looked tons better thanks to anti-aliasing which is the smoothening of the jagged corners in text and other graphics. It also caused tons more changes like Gradient shading, a more sophisticated version of path management.
Due to these graphics implementations, the developers were ready to take the graphics and visual feel of the OS to a replacement level. They introduced icon labels that were transparent on the desktop. The menus had shadows under them which made them look more realistic floating above the remainder of the screen. And since the GDI+ might be employed by anyone, many third-party applications surfaced which were more graphically capable than before. thanks to this, the developers increased the utmost number of Graphical Device Interface handles per session from the previous value of a mere 16384 to a whopping 65536 GDI handles per session in Windows XP.
To reduce the loading time of software on Windows XP, the developers included a ram management service which was called Prefetch. Prefetch made the startup of Windows and therefore the opening of software faster by caching the specified files that are required by a selected software into a cache within the Random Access Memory (RAM) of the pc. This reduced the number of disk reads which made the applications run faster on Windows XP in comparison to previous versions of Windows.
In Windows XP, the choice of reverting the updates of any driver installed for any hardware component was given to the users. This was helpful if any driver software was installed improperly then it might be reverted back to its original state.
Windows XP also came with a replica protection system which was included with Windows XP also as Windows Server 2003 which was the Windows XP meant for running on the server side. With the new product activation system, each license of Windows had a singular ID which was unique to every computer because it was generated and supported by the hardware of the pc. This unique ID was then to be sent to Microsoft through the web or by placing a call on a Windows activation hotline.
If one didn’t send the unique ID of their system and activate their copy of windows within a period of thirty days, windows wouldn’t work anymore. Also, to stop the usage of windows on quite one machine, Windows scanned the hardware of the pc and if there was a big change in hardware detected then Windows would be required to be activated again.
In Windows XP, the beginning menu was revamped to a sleeker version that displayed information in a better manner. the beginning menu featured a dual-column design during which the installed programs were displayed. alongside the installed programs, the foremost used apps were displayed within the front and therefore the users could also pin certain applications to the beginning menu for straightforward access to their favorite apps.
The taskbar received a visible uplift with better graphics which looked better than the previous versions of windows which featured a clear taskbar. alongside the visual uplift, the taskbar on Windows XP had many new features just like the grouping of the windows opened by an equivalent application into one tab. The individual windows could then be accessed by hovering the mouse pointer over the collapsed tab of windows and every instance of the app was shown.
The notification area of the taskbar could now hide the inactive and unused notifications by default into a collapsed bubble of unused notifications. This made the notification area on the taskbar neater with space for more notifications to be displayed.
For navigating through files, Windows Explorer also received a couple of major updates. A dynamic sidebar was added to Windows Explorer which contained tasks supported by the sort of folder opened. for instance, if the folder contained music files, then tasks associated with playing music and therefore the burning of music to CDs were displayed on the sidebar.
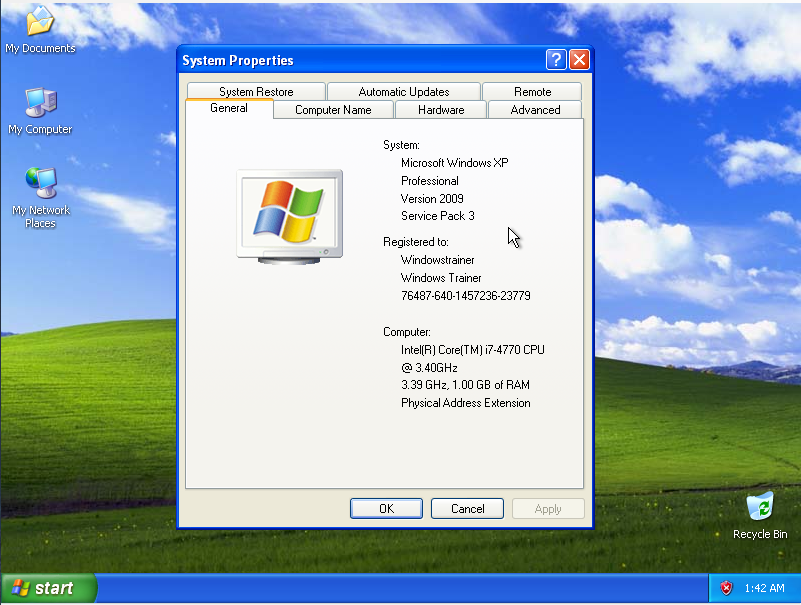
As Windows XP was released a short time back, in 2001, the hardware requirement is sort of low in comparison to today’s computers. Nevertheless, here are the specifications required for installing Windows XP on your computer.
To install the house Edition of Windows XP, you would like to possess the subsequent minimum requirements:-
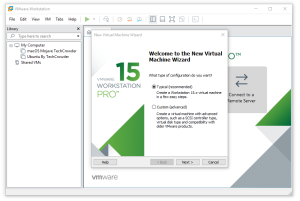
You can download Windows XP ISO free of charge from our website. To download and install Windows XP ISO on your computer, follow these steps:-
Restart your system before listing to the beep sound and booting configurations, press the DEL or (DELETE) key on your keyboard a few times (in some laptops you have to press F2, in some motherboards you have to press F12). although, In most cases, you enter the motherboard’s BIOS screen by tapping the DEL key on the keyboard.
The image below is taken from the BIOS settings Page.

Well, Following the picture below, click on the Boot tab (This section is different on different motherboards), then select Boot Device Priority and press the Enter key.
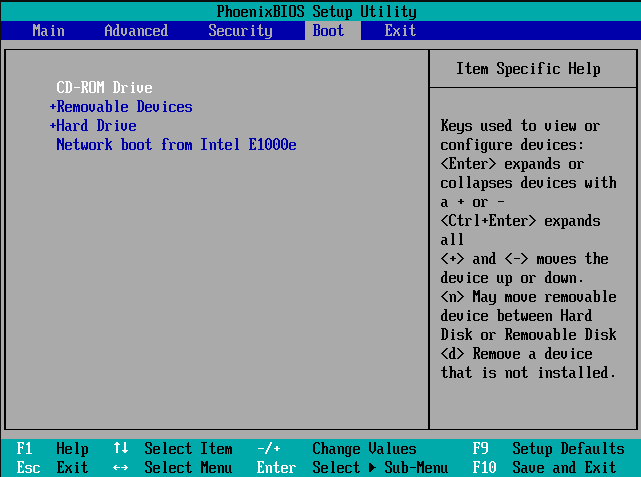
Now select 1st Boot Device as shown below. To boot through, you must select the CD/DVD-ROM drive. To boot from the flash drive, you must select USB FLASH Drive or select the name of your flash drive (Point to be booted via booting through a flash drive is that your flash drive must be connected to the computer before booting and your motherboard must support this feature) otherwise it won’t work.
Well now that you have set the 1st boot device to your CD/DVD-ROM or flash drive depending on your choice, to save the changes now click F10 on your keyboard and then press ENTER for Yes or OK to save the settings, it’s over now You are ready to install Windows.
After selecting the CD/DVD, select save
Figure 1: Insert the Windows CD into the CD-ROM, if you have given the boot to CD/DVD according to the above tutorial, then press the ENTER key on the keyboard.
Figure 2: Press the F8 key on the keyboard
Figure 3: Please note that in this tutorial we have taught you how to install on a raw hard disk without having a partition, so if you have a hard disk with a partition, do not follow steps 3, 4, and 5, and simply skip them. Just select the drive where you want to install Windows and select the key. Press F on the keyboard and then follow the rest of the tutorial from step 6 onwards. So if you have a raw hard disk and no partitioning, like the picture below, you should see that you have to select your hard disk using the arrow keys and pressing the C key.

Figure 4: Determine the volume of the hard disk you want to specify to install Windows (where marked with an arrow), then press ENTER.

Figure 5: Now select the drive that you want Windows to install on, because we already have a drive and our partition has a specified driver letter, you select drive C (you can select any partition you like), after selecting Enter Press the keyboard.
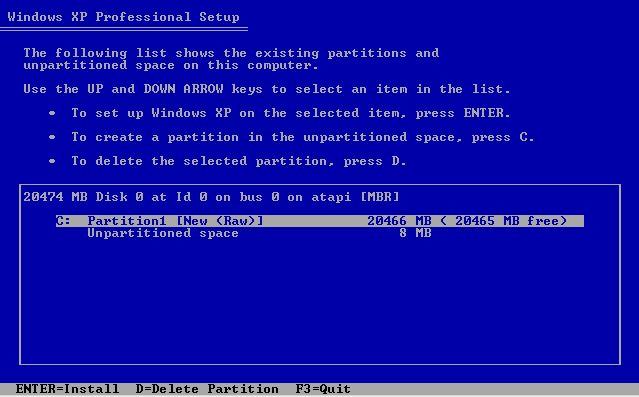
Figure 6: Now you need to select the drive format on the next screen, select NTFS quick as shown below, and press the Enter key on the keyboard.

Figure 7: Now, as shown in the image below, the process of formatting the selected drive starts, there is no need to do anything, this step is done automatically.

Figure 8: After the above step, the Windows XP installation process will start, you still don’t need to do anything, after doing this step, your system will restart once.
Figure 9: After restarting the system, the full Windows XP installation process will start again and you will see the following image. To find out how much is left of the Windows XP installation, look at the graph on the bottom left.
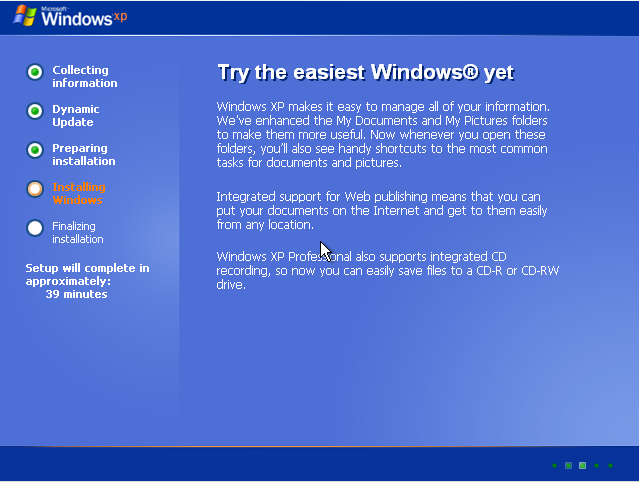
Figure 10: Now there is a section for entering the Windows XP series, but in some Windows provided the country you’re in, this step is done automatically and there is no need to do this, otherwise you have to download the Windows series, which is mostly with all purchased CDs. Enter the Product Key section, and click Next.
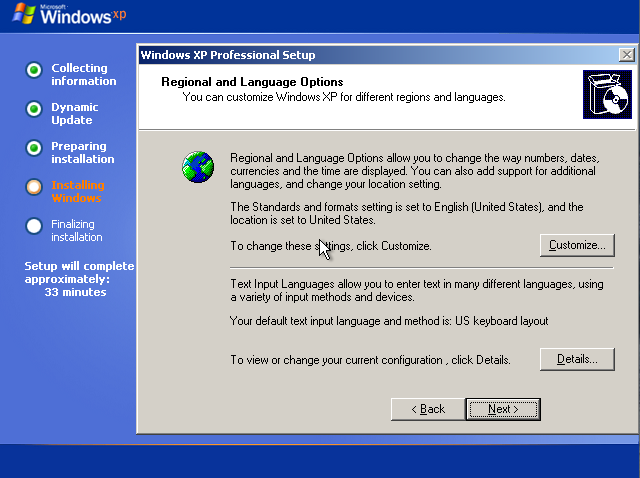
Figure 11: After this step, you need to select a name for your system in the Computer Name field, and you can also set a password for your Windows and click Next.
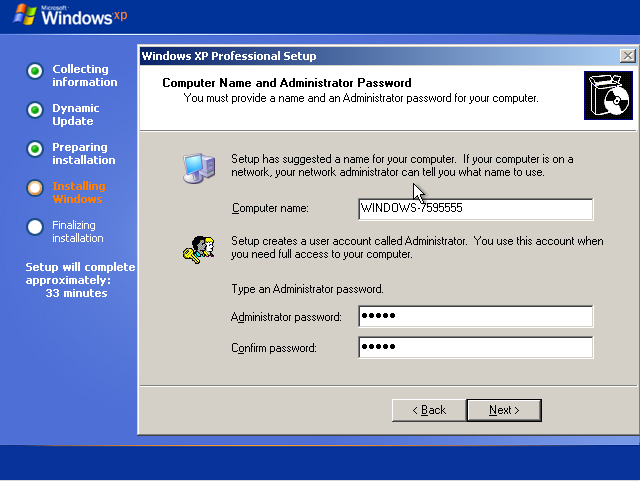
Figure 12: By viewing the image below, you should select your time zone, and click Next.
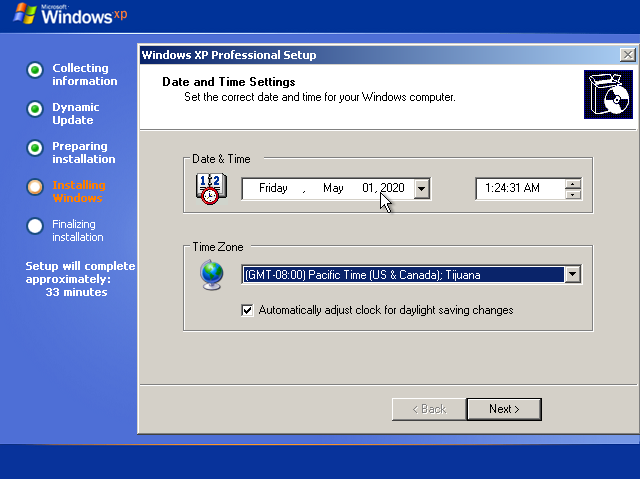
Figure 13: After going through the above step, after a while, the network settings will appear for you, you must select the first option (typical Settings) and click Next.
Figure 14: Now you have to wait for the installation process to complete, the photo below is taken in a step that is 1 minute away from the installation completion.

Well, your Windows has been successfully installed. After restarting your Computer, The newly installed Windows XP will be unveiled.